Quick start
This walkthrough goes from nothing to a live response using the public Swagger Petstore API: it has an OpenAPI spec you can import and a live server you can call.
You'll set everything up in the desktop app, then run requests from the app or the craftrCLI. The rule of thumb: author in the app (importing specs, filling in variables,
creating requests); use the CLI to run and automate. Make sure you've
installed the app first.
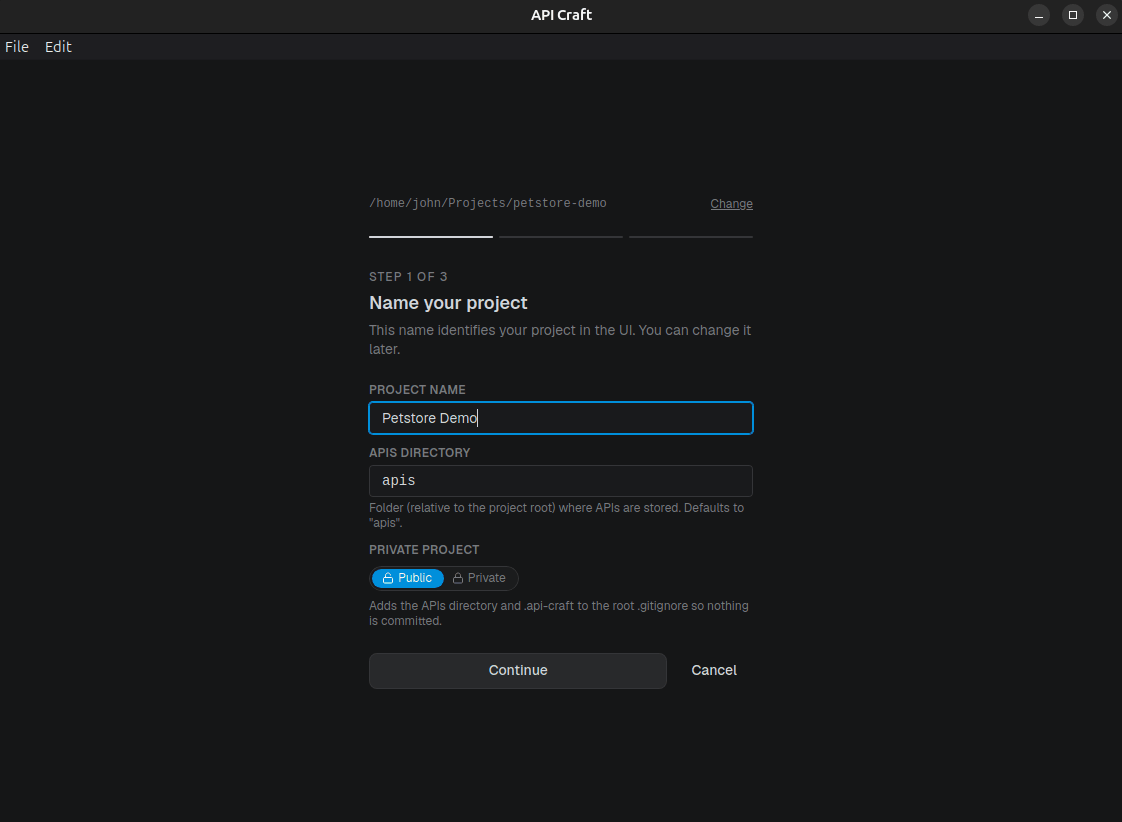
1. Create a project
Launch API Craft and create a new project, pointing it at an empty folder. This folder is the project. Commit it like any repo.
2. Import the spec
Start the New API wizard. Give the API a slug (petstore-api) and import the spec by URL:
https://petstore3.swagger.io/api/v3/openapi.json
The wizard fetches the spec and sorts its operations into resources.
3. Read what the import set up
The Set up from the spec step lists what the import derived from the spec's servers
and securitySchemes so you don't configure it by hand:
- An environment per server. Petstore declares one, so you get
server-1withbaseUrlset tohttps://petstore3.swagger.io/api/v3. - The variables those need:
baseUrl, plus one secret per security scheme. Petstore has two, soaccessToken(its OAuth2 scheme) andapiKey. - Where auth landed. Most Petstore operations are public, so the API default is none; the
operations that require auth carry it themselves, for instance
Pet.getgets an API key header of{{apiKey}}.
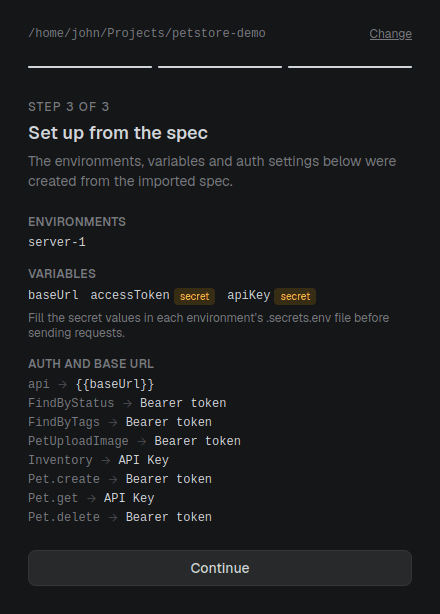
Everything here is a plain file in the project, and the environment names, levels and values are yours to change. See Importing a spec for the rules.
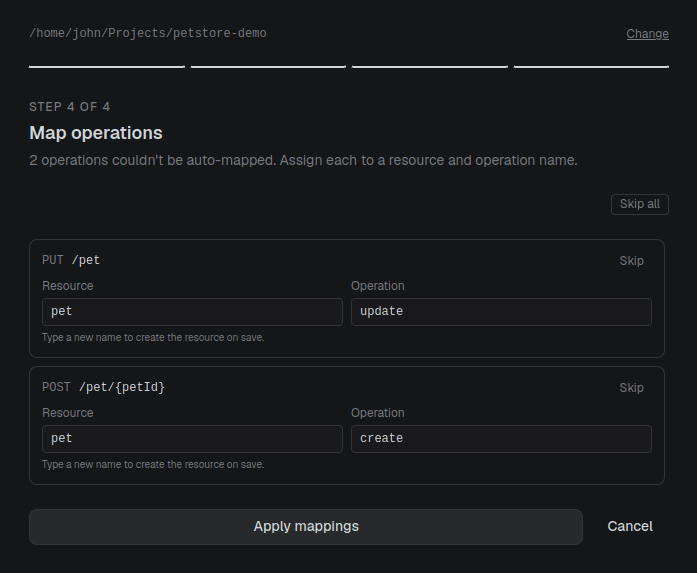
A last step follows when the heuristics couldn't place every operation, which is normal: name the resource and operation for each, or skip it and map it later from the schema sidebar. See Importing a spec.
4. Fill in the secret
Secrets are declared but never given a value by the import. Open the environment panel
(Alt+2), select server-1, and fill apiKey in: Petstore accepts anything. Because the
variable is secret, the value lands in the gitignored server-1.secrets.env rather than in
the committed server-1.json, which the Source column spells out per variable.

The API's Config tab holds the base URL ({{baseUrl}}) and the default auth the import
chose. Resources and operations can override both. Auth is copied into new requests as
you create them; it seeds them rather than wrapping them, so changing it later leaves existing
requests untouched. See
request instances.
5. Run your first request
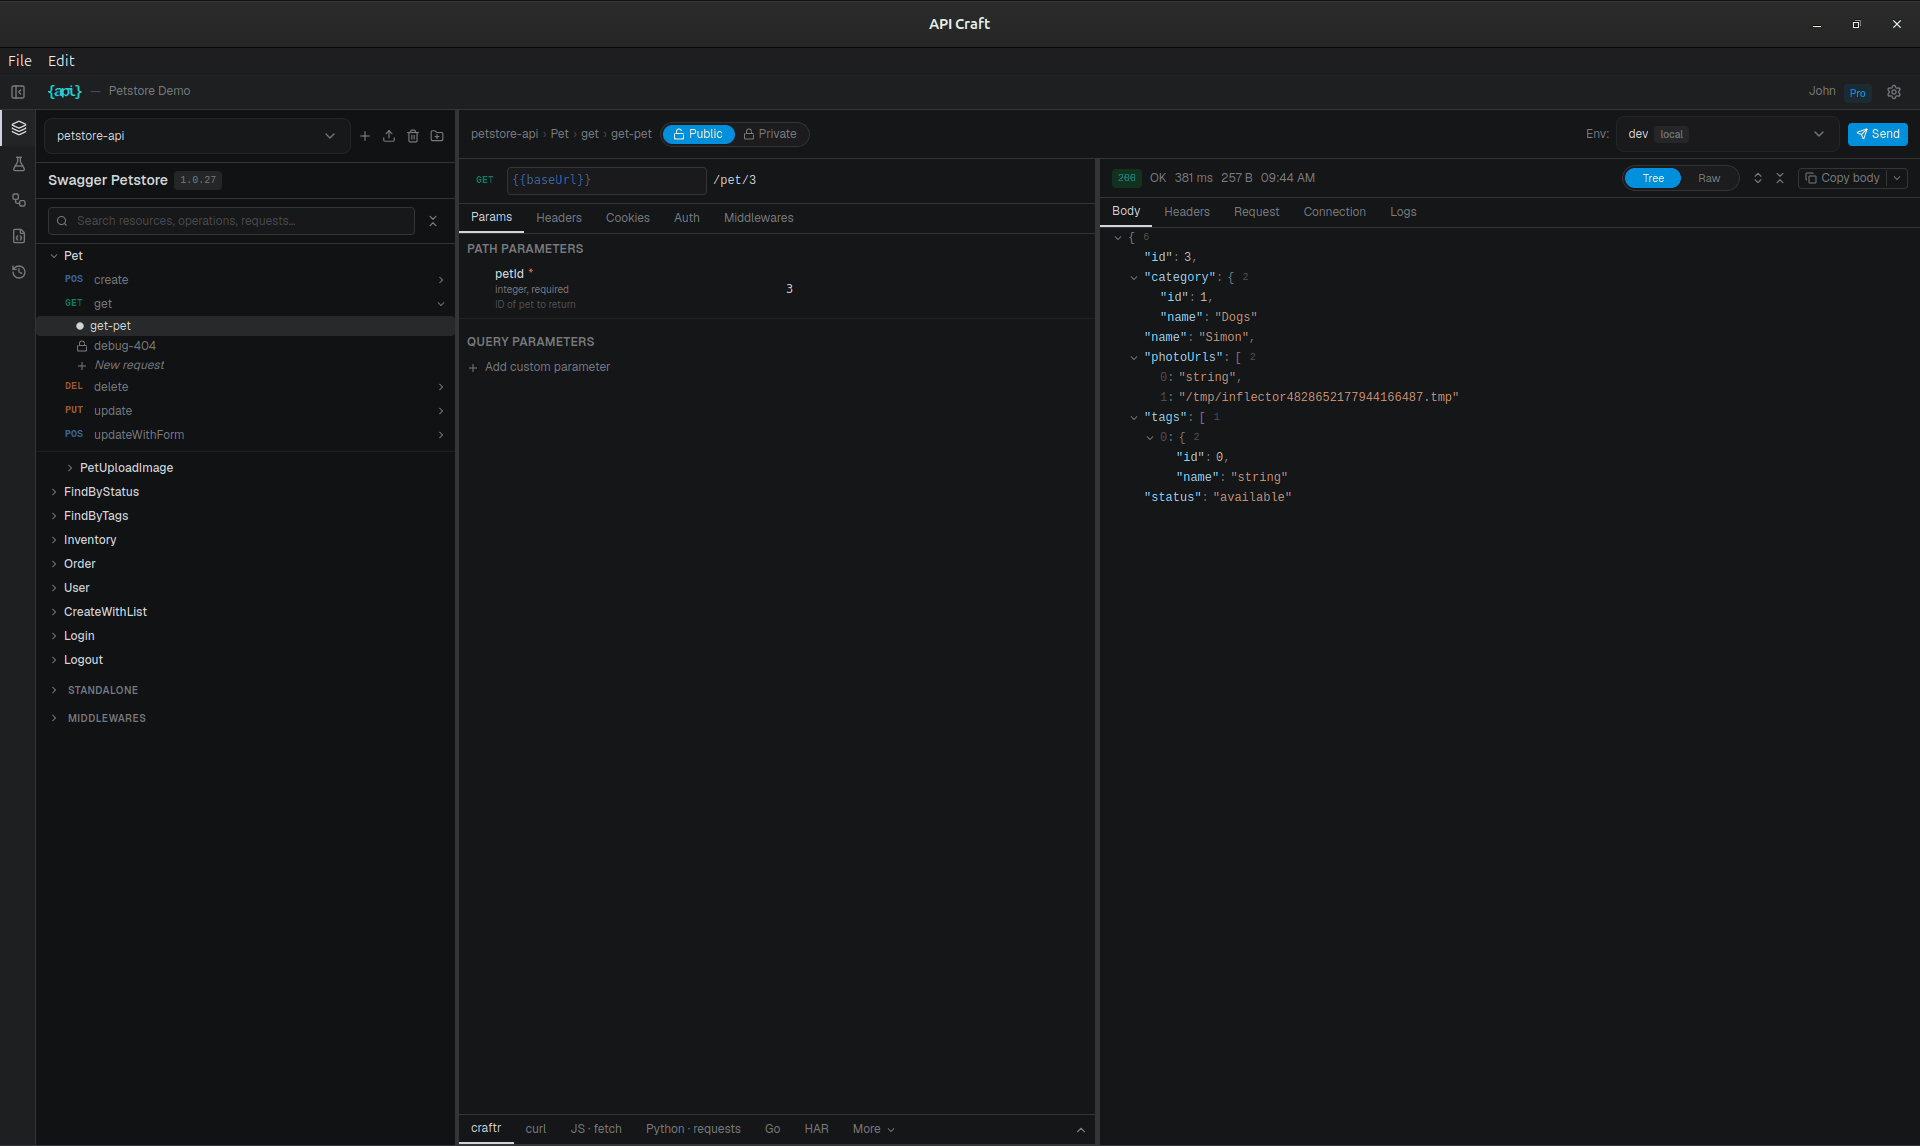
In the schema sidebar (Alt+1), expand the Pet resource and click the get operation
(GET /pet/{petId}). Enter 3 for petId, pick the server-1 environment in the
top bar, and
press Ctrl+Enter. The response appears on the right and is saved to history.
Press Ctrl+S to save the request as a reusable instance and name it get-pet.
6. Run it from the CLI
A saved instance is just a file, so the CLI can run it against the same project, ideal for scripts and CI:
craftr req run Pet/get-pet -e server-1
{"id":10,"name":"Rufus","photoUrls":["example.com"],"tags":[]}
The body prints to stdout, so it pipes straight into jq:
craftr req run Pet/get-pet -e server-1 | jq '.name'
Project scaffolding and spec import are scriptable too (craftr project init, craftr api create,
craftr schema import), which is handy in CI. The CLI focuses on running and automation;
authoring (declaring variables, creating requests) lives in the app. See the
CLI reference.
What next
- Concepts: the model behind resources, instances, and environments.
- Request instances: overriding params, visibility, running from CI.
- CLI reference: every
craftrcommand.